

- Go to Login | Microsoft 365 and log into the tenant which hosts the email address that we want to forward mail from. (do not log into
the destination email address tenant) - Open the Admin Center
- Next, click Show All (admin centers) and then click Security.
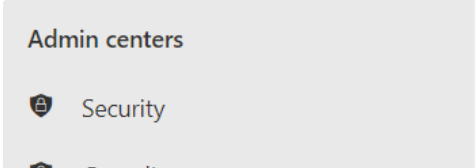
Next, in the Security / Microsoft 365 Defender Admin Center, under Email & Collaboration, click on
Policies & rules.
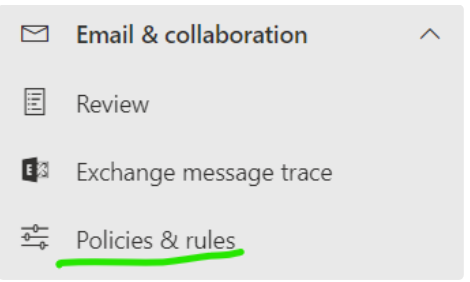
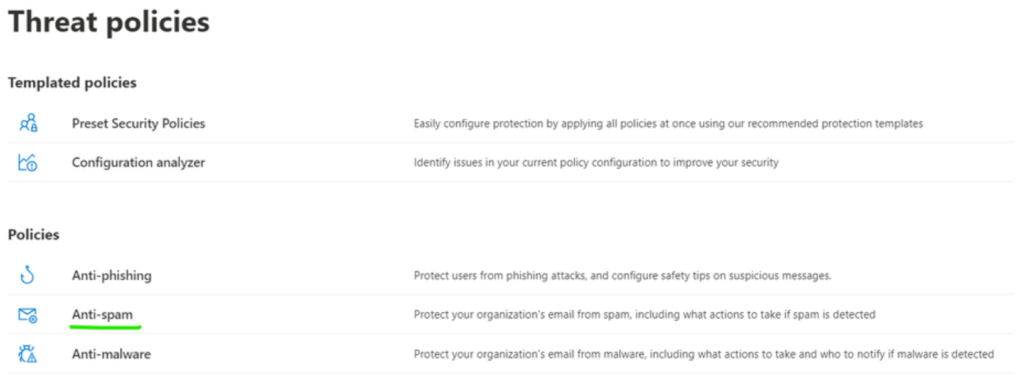
Here, click on Threat Policies
Under Threat policies, click Anti-Spam
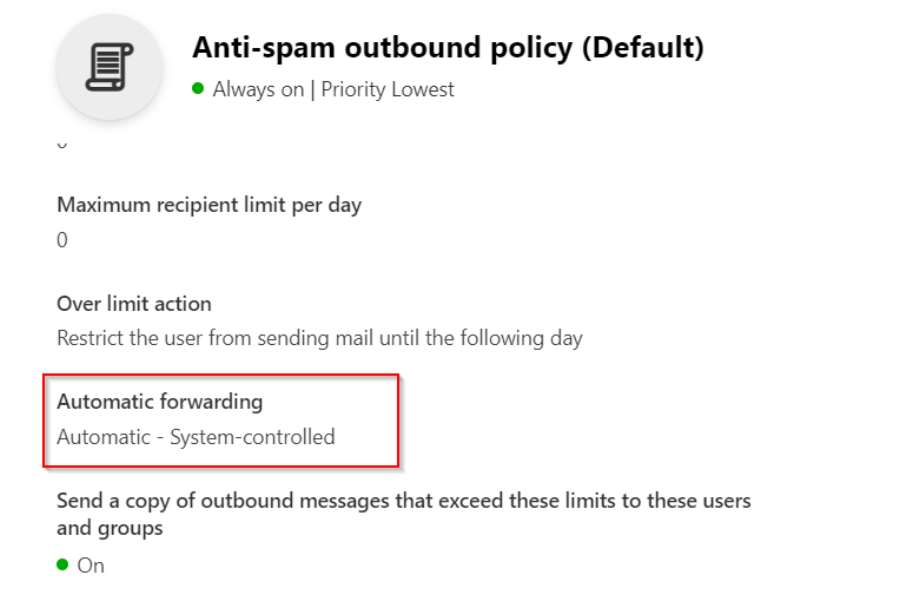
Under the Default Anti-Spam outbound policy (Default) we will probably find Automatic Forwarding is set to Automatic – System-Controlled
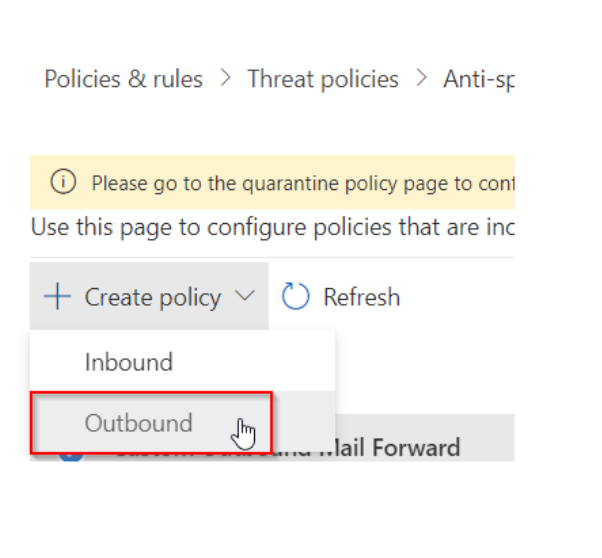
Close the Default Policy and then at the top of the screen click the + Create Policy drop-down and choose Outbound
In the new Outbound policy, edit the description to something like “Custom Outbound Mail Forward“, and add the Users or Groups to the
policy (whom you want to give the ability to forward.)
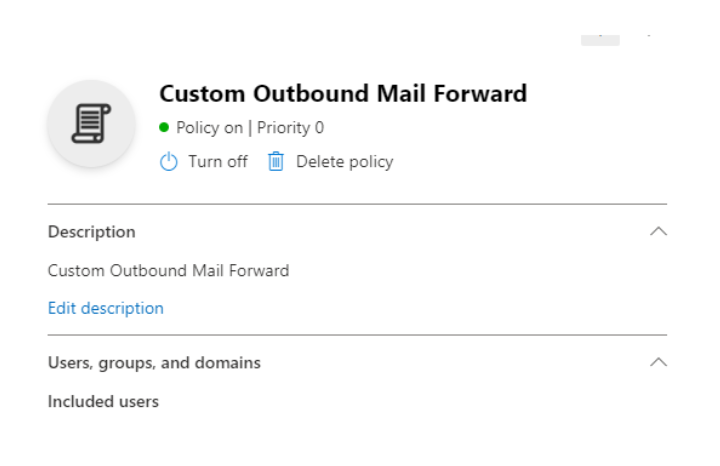
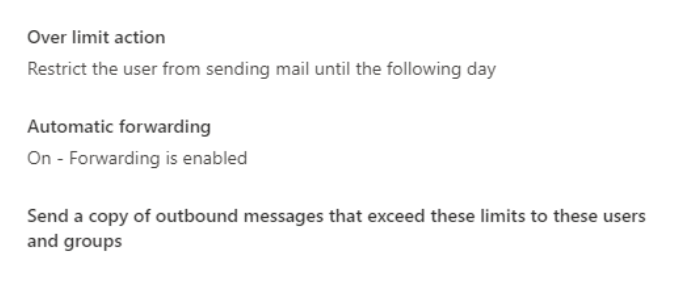
At the bottom of the new custom policy change Automatic Forwarding to: On – Forwarding is enabled
Save and close the new policy and that should do it. Try sending some test messages to see if the forward works correctly.


")